There’s nothing like the coziness of a candle burning, but they can be full of dangerous toxins. Here I’ll show you step-by-step How To Make an Organic Beeswax candle. Scented with essential oils, so you can enjoy the coziness without all of the toxins.
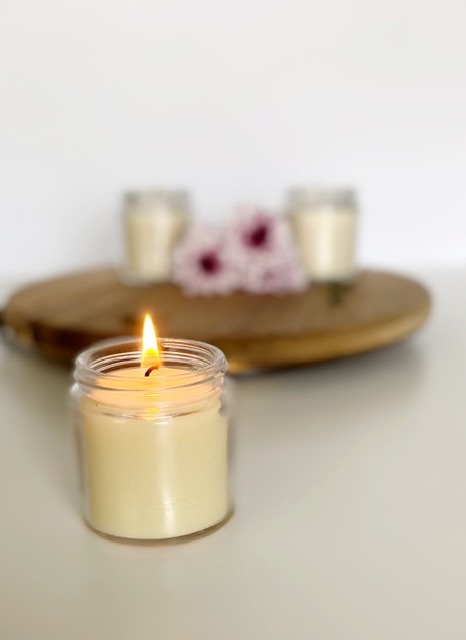
As I mentioned above, I love the coziness of a burning candle. Especially during the holidays or when I’m cleaning-there’s just something about it! The fresh clean smell, the flickering…I love it. However, I do not appreciate all the toxins they emit.
As a young, new wife I never thought twice about walking into ‘Bath and Body Works’ and stocking up on candles, lotions and germ-x. It wasn’t until I became pregnant with our first baby that I finally did my research and figured out why I would always get a terrible headache going in there! No way do I want my family (or myself) to be breathing that in.
For years I used a diffuser in place of a candle (and still do), but I always missed the coziness of having a candle. But I had no idea how or if I even could make my own. And if I did-what kind would I make? What kind of wax do you use? Where do you find the supplies? If you’ve asked yourself these same questions, then you’ve come to the right place!
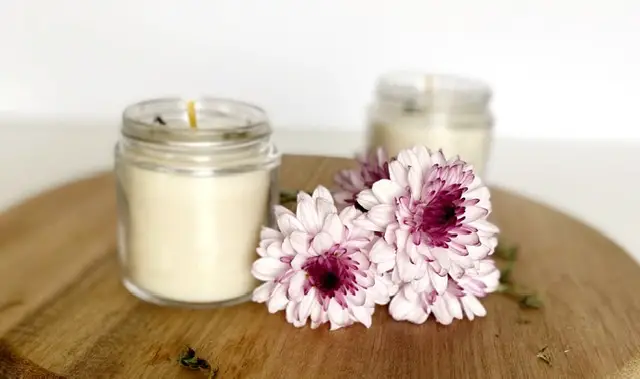
Why Make An Organic Beeswax Candle?
In case you haven’t heard, Beeswax is amazing stuff! Not only is it great for candle making, it’s also great for our skin, hair and overall health. Here are some reasons why I love it so much:
- Anti-bacterial
- Anti-inflammatory
- Antimicrobial
- Antiviral
- Antifungal
I could go on and on about why beeswax is such an amazing and beneficial resource, but I’ll stick to why I like it for candle making.
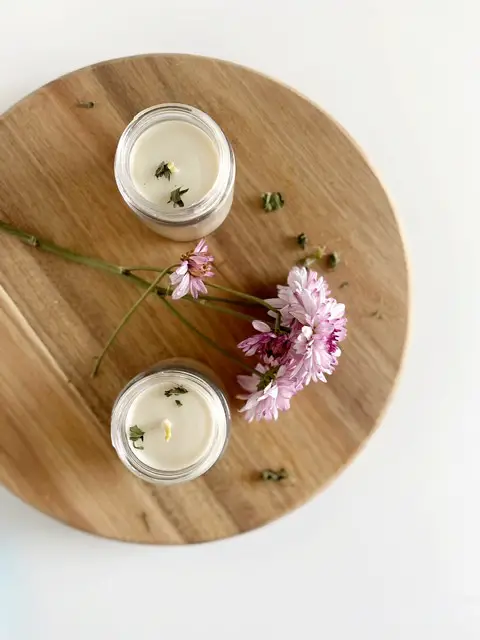
1). Ambience. Beeswax candles emit a much more ambient light, making for a cozy atmosphere.
2). Burn longer. Beeswax has the highest melting point of any wax- meaning these candles will burn longer than normal candles. They don’t release any soot and they tend to drip less.
3). Pull Toxins from the air. Some candles emit toxins INTO the air, but these candles pull toxins FROM the air. How cool is that?!
4). Soot free. Beeswax candles burn cleanly and have no added fragrances or colorings. I have burned several ‘unscented’ beeswax candles and I have also scented them with Doterra essential oils-I love them either way.
See why l love them so much?
*If you’re going to scent them, make sure you’re picking an essential oil brand that you know and trust. The whole point of making them is to avoid chemicals and toxins, so make sure you’re using a ‘clean’ essential oil.
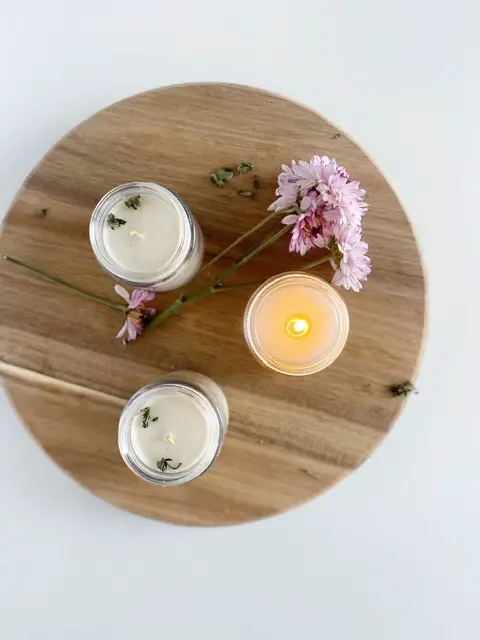
Now that we know why to use beeswax, lets get to making some candles!
I’ll be honest, I may have been a little over-confident in my candle making abilities. I mean, how hard can it be? Well….it’s not, you just need to know a few tricks before you get started. And lucky for you, I’ll let you glean from my mistakes and hopefully make this experience a breeze for you.
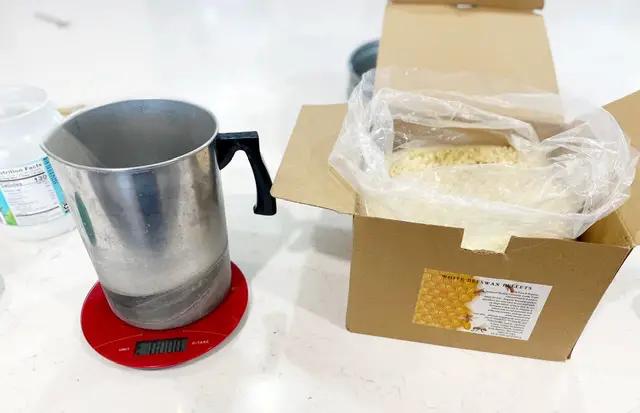
Ingredients Too Make An Organic Beeswax Candle
- 1 pound organic beeswax pellets. I like to use pellets because they melt quicker, but you can use beeswax blocks. Just make sure you cut them into smaller cubes to help with the melting time.
- 1/2 cup organic coconut oil-Coconut oil helps the beeswax burn slower. I like to use organic coconut oil to make sure all of the ingredients are clean and non-toxic.
- 3 8 Ounce Glass Jars (or 6, 4 ounce jars)-these are my favorite! If you don’t want to purchase glass jars specifically for your candle making, feel free to use whatever glass jars you have on hand. Just be sure to check that they are safe for an open flame.
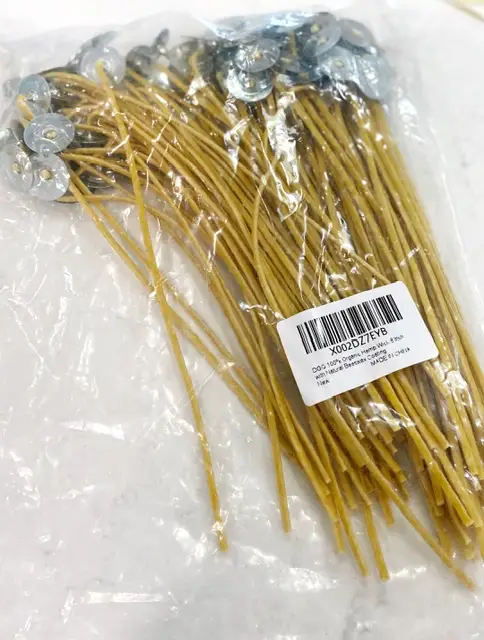
- Candle Wicks. I have found that a thicker wick is better for beeswax candles. My candles weren’t burning as evenly with a thinner wick-which is why I like the ones listed above. Again, use caution when picking out a wick because there are hidden chemicals and toxins in those too.
- Metal pitcher. Because I make candles regularly, I have a metal pitcher specifically for candle making but this is not a ‘must have’. If you don’t plan on making them more than once or twice a year an old popcorn or coffee tin will work just fine.
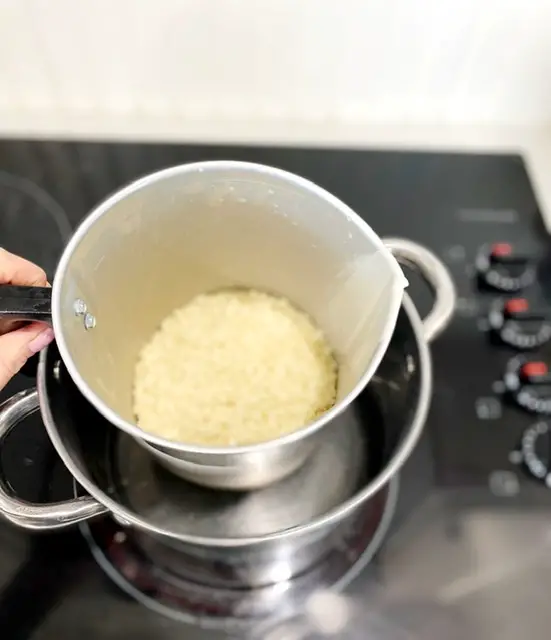
- Large Pot. To melt the beeswax, we’ll use a double boiler so make sure you use a pot that will fit your metal pitcher (or metal container you are using).
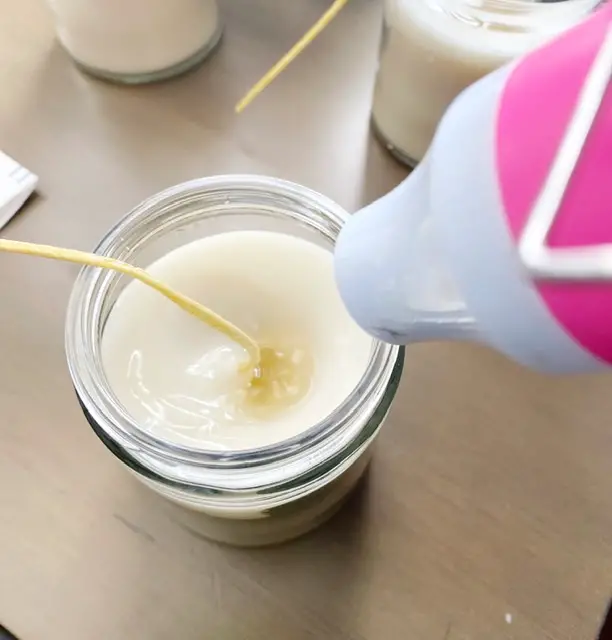
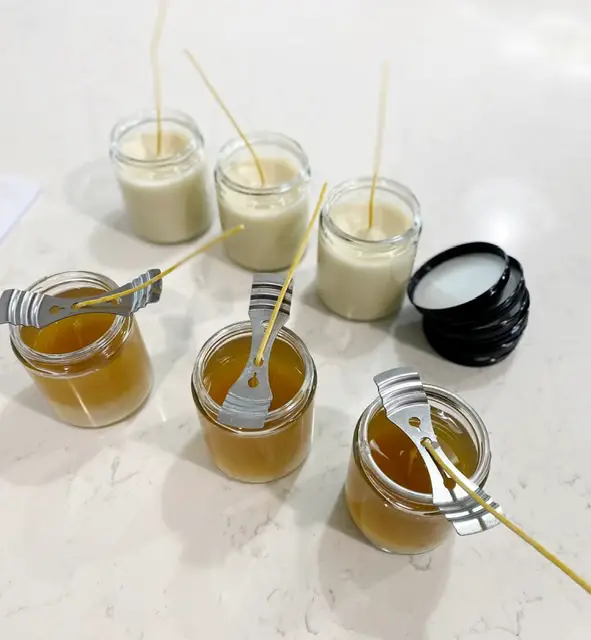
- Metal Candle wick holder . Again, this isn’t a ‘must have’ but it will make things SO much easier and it’s not expensive at all. These will hold your wicks in place while the wax dries. The last thing you want is to have gone through all that work and your wick be crooked.
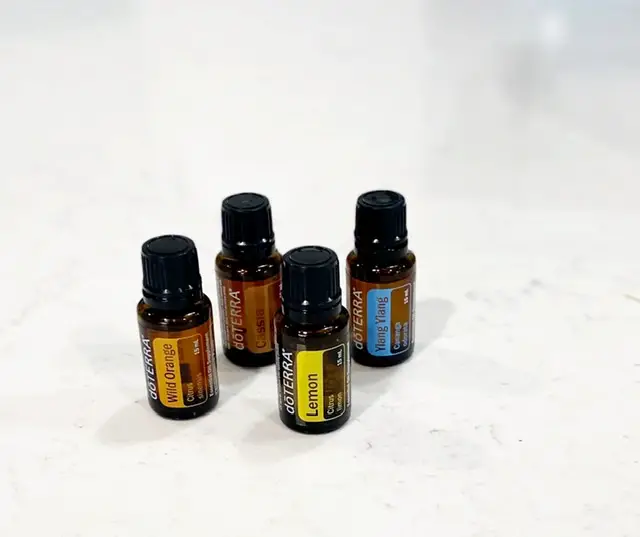
- Essential oils .These are ,of course, optional but I’ll have some of my favorite blends listed below. *The trick is to add the essential oils when the wax is still hot and not hardened, but not so hot that the essential oils evaporate. Remove from heat and allow to cool slightly before adding the essential oils and then stir them in.
- Heat Gun. Hand poured candles tend to get what’s called a ‘sink hole’ once they have cooled. If you’re not concerned about having a pretty candle then don’t worry about getting a heat gun. However, if you want a pretty, smooth candle then a heat gun will really come in handy! Simply warm the top of the wax until it distributes evenly-super simple.
Essential Oil Blends
Lavender + Lemon
Eucalyptus + peppermint + rosemary
*Christmas Time* Holiday Joy
Pine + Lemon
Orange + Lime + Joy + Citronella
How To Make An Organic Beeswax Candle
- Using a kitchen scale, measure out 1 lb of beeswax pellets. Add the pellets to a metal pitcher or metal can. Because I make candles pretty regularly, I have a metal pitcher specifically designed for candle making. If you don’t intend to reuse the pitcher, I suggest using a metal container that you can throw away because it is very difficult to get the wax out of dishes. In other words, don’t use your favorite pot for candle making!
- Set out you jars (whatever kind you decide to use) and secure a wick at the bottom of them with a little hot glue (or the tabs they come with). Set aside.
- Make a double boiler by placing the metal container into a large pot of water and bring to a boil. Turn heat down to medium and occasionally stir until all the beeswax is melted. Being careful not to let the water splash into the wax.
- Once the beeswax pellets are completely melted, remove from the heat and stir in the coconut oil to help the beeswax burn slower.
- Once the coconut oil is melted now is the time to add essential oils (optional). I like to add in 30-50 drops of essential oils of choice. If you like a subtle scent add 30 drops per pound, but if you like a stronger scent add 50.
- Carefully pour the melted wax into your jars, leaving about an inch of room at the top.
- Using a pencil or bamboo skewer, wrap the other end of the wick around it and lay it horizontally across the top center of the jar. This will keep the wick centered while the wax hardens.
- Once the wax is completely hardened, you can trim the wick, it should be about 1/2 inch long. If it is much shorter than 1/2 inch, it will cause the candle to burn down in a tunnel shape. Then it is ready to light!
Looking for more ways to use essential oils in your home? Find my favorite homemade All-Purpose Cleaner HERE!
How To Make An Organic Beeswax Candle
Equipment
- 1 Metal Pitcher
- 1 Large Pot (for double boiler)
- 3 Metal wick holders or pencils
- 1 Kitchen scale
Materials
- 1 pound Organic Beeswax Pellets
- 1/2 Cup Organic Coconut Oil
- 3 8 ounce Glass jars
- Candle Wicks
- 30-50 Drops Essential Oil
Instructions
- Using a kitchen scale, measure out 1 lb of beeswax pellets. Add the pellets to a metal pitcher or metal can.
- Set out you jars (whatever kind you decide to use) and secure a wick at the bottom of them with a little hot glue (or the tabs they come with). Set aside.
- Make a double boiler by placing the metal container into a large pot of water and bring to a boil. Turn heat down to medium and occasionally stir until all the beeswax is melted. Being careful not to let the water splash into the wax.
- Once the beeswax pellets are completely melted, remove from the heat and stir in the coconut oil to help the beeswax burn slower.
- Once the coconut oil is melted now is the time to add essential oils (optional). I like to add in 30-50 drops of essential oils of choice. If you like a subtle scent add 30 drops per pound, but if you like a stronger scent add 50.
- Carefully pour the melted wax into your jars, leaving about an inch of room at the top.
- Using a pencil or bamboo skewer, wrap the other end of the wick around it and lay it horizontally across the top center of the jar. This will keep the wick centered while the wax hardens.
- Once the wax is completely hardened, you can trim the wick, it should be about 1/2 inch long. If it is much shorter than 1/2 inch, it will cause the candle to burn down in a tunnel shape. Then it is ready to light!

Love these candles! Thanks for the recipe!